What you need
- EFI bike to be upgraded
- Carburetor of your choice with matching EVO-style manifold and fuel hose
- AMM-P3 ignition

The Desperados know about "air-flow" and therefore decide to employ a S&S Super-B carburetor, but you can also use a Mikuni HSR42, Keihin CV, Bendix, Super-E or -G, Edelbrock, SU (from Mr. Magnet)... whatever carb.
You need a EVOLUTION®-style manifold that matches your carburetor. Not shown on the above pic: fuel-filter and in-line fuel-valve.
You may also use a Pingel hi-flow fuel valve. They also offer a special adapter for EFI tanks.
A tip from SEC: If you have a stock HD fuel-valve laying around, you can buy the official Harley-Davidson® adapter part# 62842-00.
Okay, let's start the fun
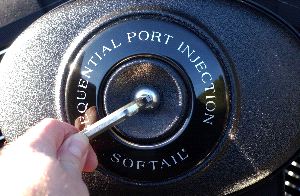
Remove seat and take off electric cover.
First, you have to let go of any pressure in the fuel system. Locate fuel-pump fuse, take it out and put into spare-location. You don't need fuel-pump operation any more.
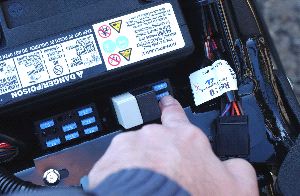
Start engine, and let it run until it stalls. Fuel pressure is now removed, and you can take off the fuel fitting.
Cut off the 'El Cheapo' plastic hose from the fitting, and put on a longer fuel hose in order to drain the tank. Use a sufficiently large fuel canister.
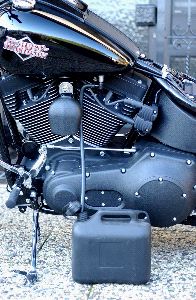
In order to speed-drain the tank, bridge fuel-pump-fuse top terminal with battery plus, using an isolated wire (as shown). The fuel pump will hum and quickly drain your tank. Remove wire after tank is empty.
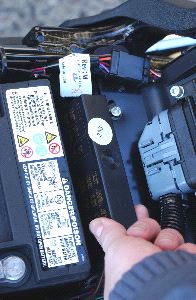
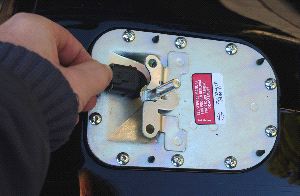
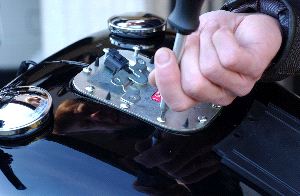
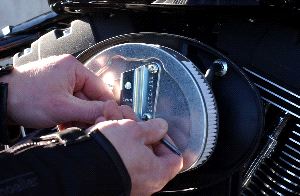
Now we have to remove another cheapo-plastic-fuel-pressure hose which is inside the tank. Remove dash, and let it hang loose ...
Unplug pump-gauge-sender-connector, and remove the torx screws.
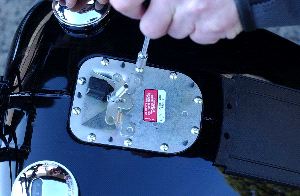
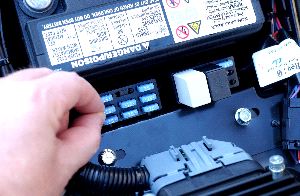
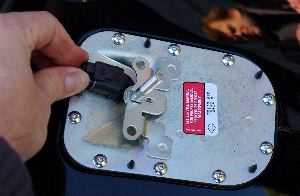
Find plastic-hose that goes from pressure regulator to tank outlet, and cut that hose off. Don't let any particles fall into the tank.
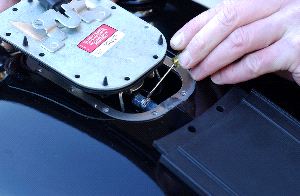
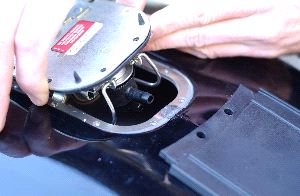
You can now remove the tank outlet fitting and take out the hose.
Cut hose and reinstall tank outlet fitting.
Remount tank cover, reconnect plug (also needed for fuel-gauge sender) and reinstall dash.
Wow, that was half the job and it may be time for your first beer...
Now you have to address to the other side of the bike.
Remove air filter cover, air filter and inner cover.
The Desperados take a brief look at EDEC, the "Enemy of Decent Engine Control", then unplug all those fancy connectors.
Loosen and hang out throttle cables.
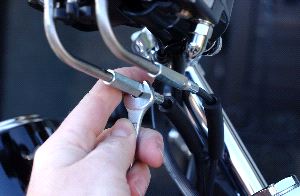
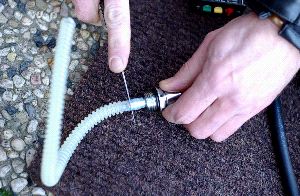
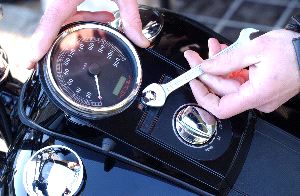
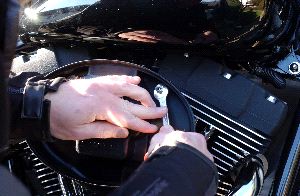
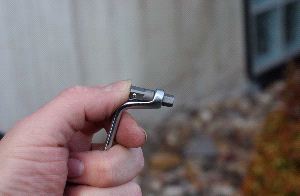
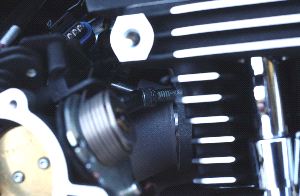
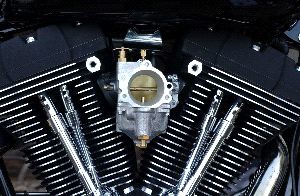
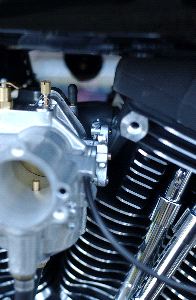
Now its time to remove the complete EFI throttle body and manifold. Removing the manifold is a lot easier if you first unscrew the throttle body from the manifold, but for doing so you need to have a loooong and thin T25 Torx screwdriver. Well, the Desperados did not have that tool and had to improvise. Take a look at the quarter inch, ultra short hex-bolt remover-tool.
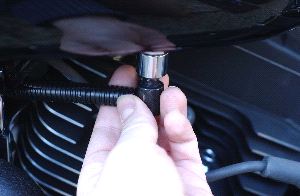
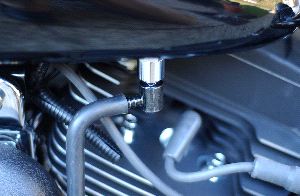
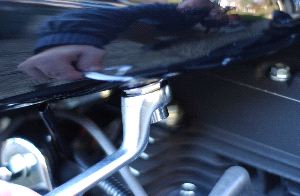
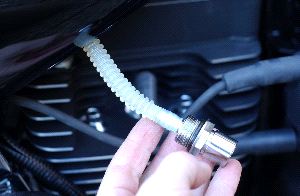
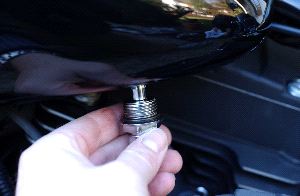
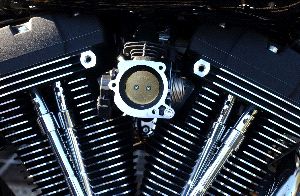
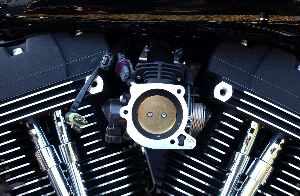
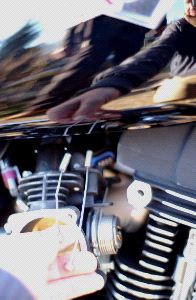
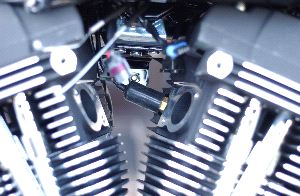
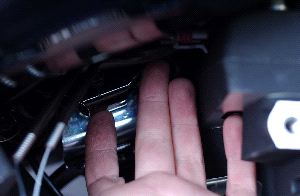
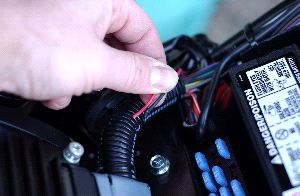
Look at the beautiful TwinCam intake. At the other end you see that strange nipple coming out the front cylinder head. That's the engine temperature sensor. Disconnect and remove it. The second photo with the hand means: Stuff all the «&Mac183;¤®† cables up under the tank, as you don't need them and probably don't want to see them anymore.
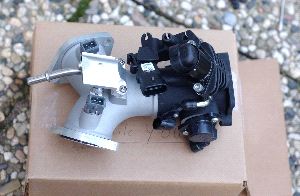
The Desperados take a final look at the "enemy", put it into a box, return to the factory and forget about it forever (wait -> they take off the manifold flanges and rubber rings before).
Okay, from now on you deal with the real stuff and are close to finish. You may have your second beer.
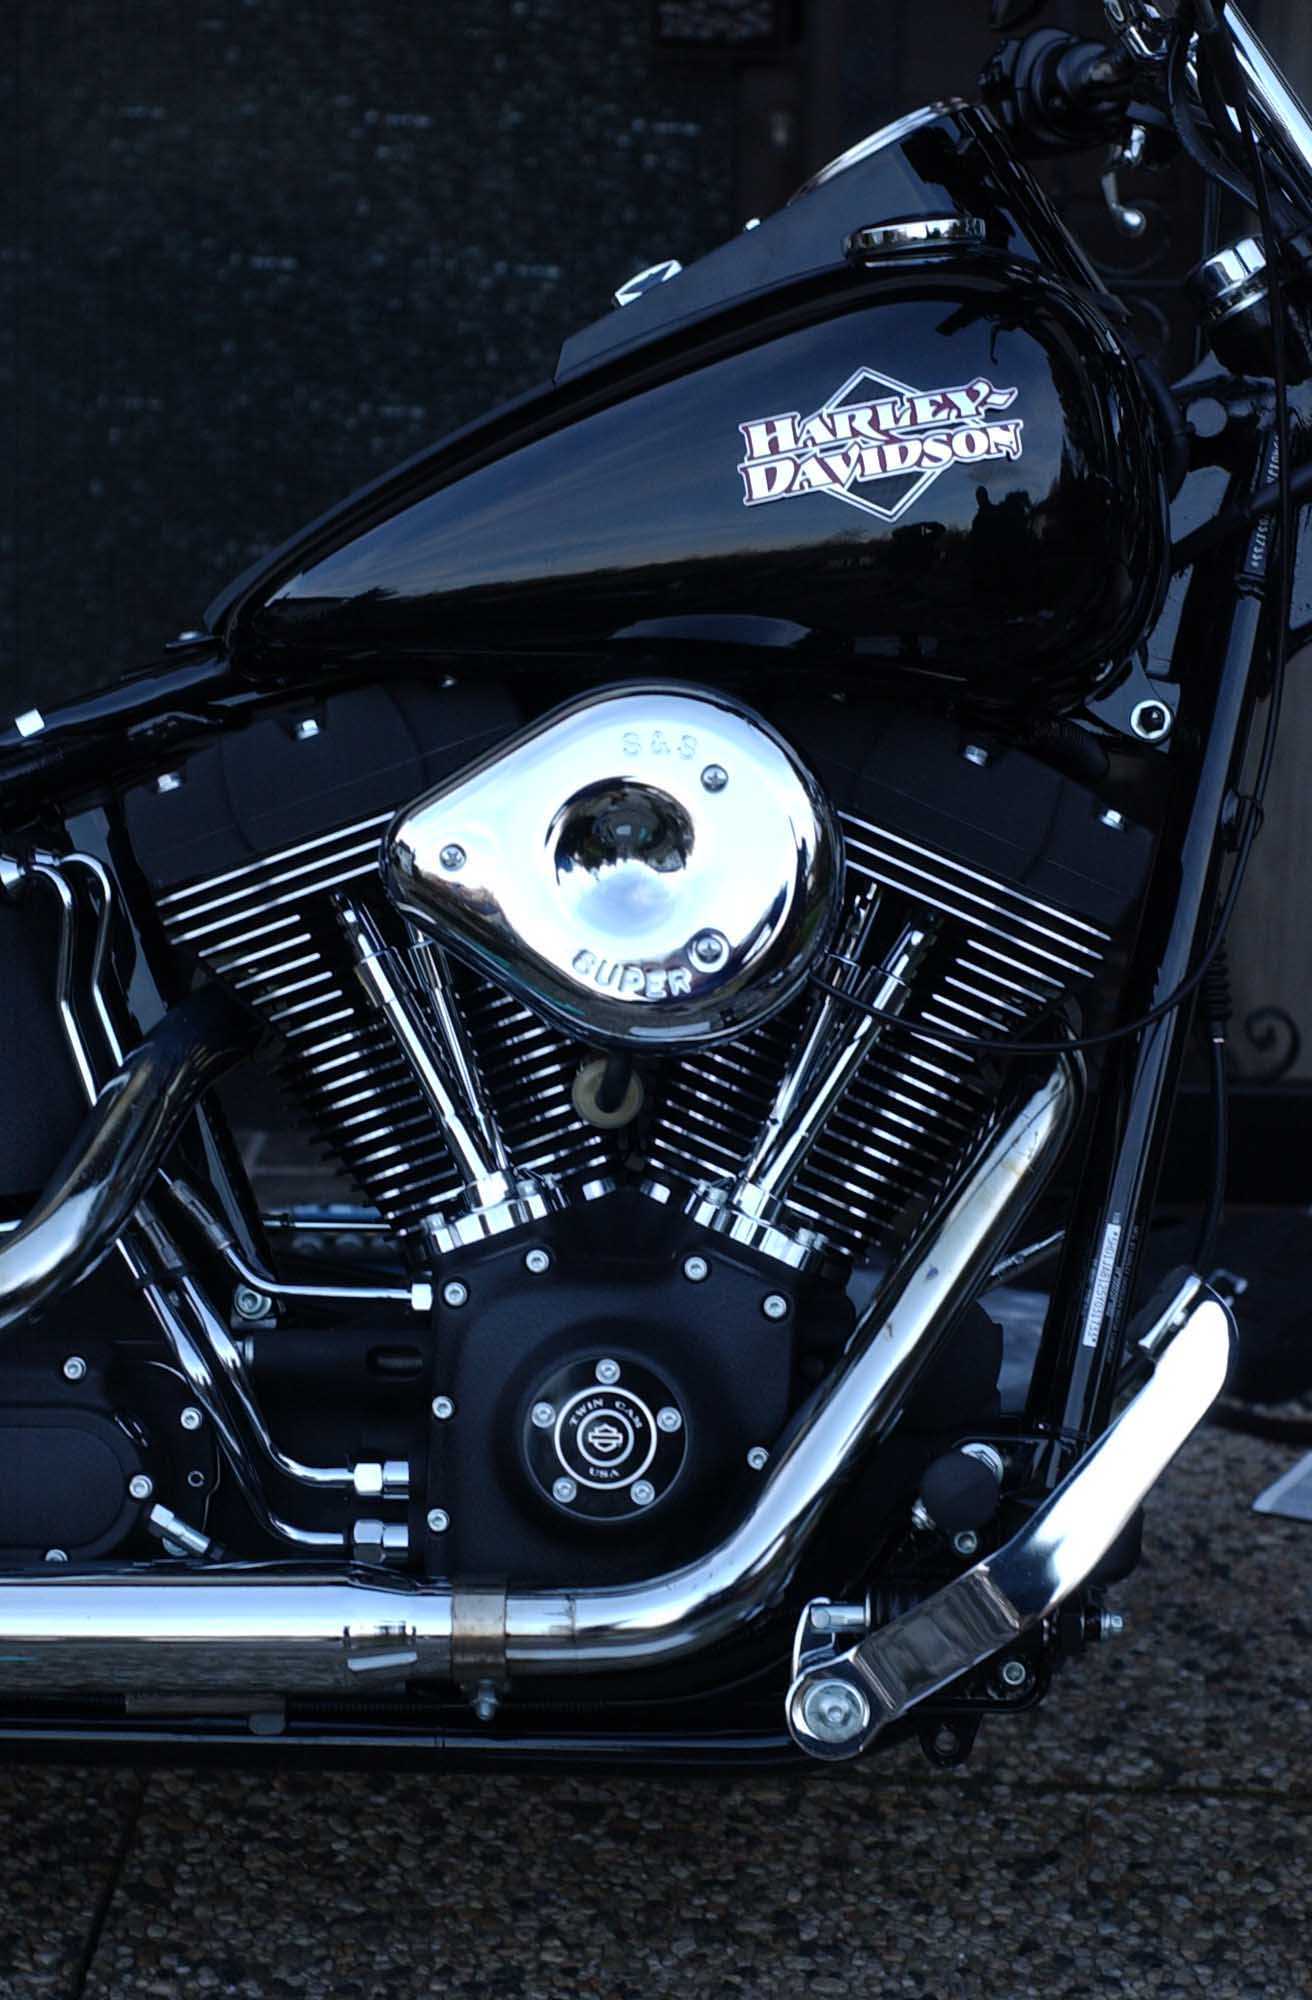
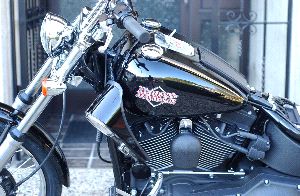
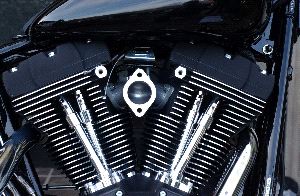
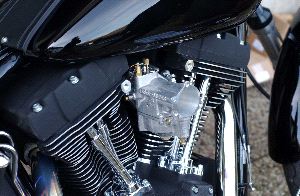
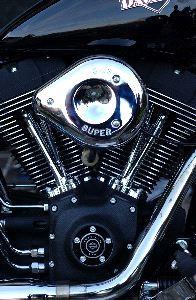
Install Evolution® style manifold for your carburetor. Install carburetor. In this picture: the Superb Super-B from S&S.
Aaaaaaahhhhh, that looks much better, ever heard about pain-relief ??? That's pain relief in its purest form ...
Hang in new or modified throttle cable and install air-filter housing, fuel-line with filter. Don't forget about making a hose-connection between the oil-vents coming out of the cylinder heads and the air filter housing.
The short electical part of this instruction:
The AMM-P3 ignition will fire the engine using the stock EFI-model-ignition-coil which is a hi-quality part.
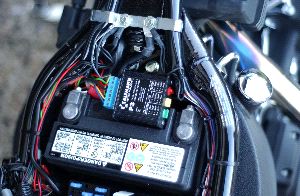
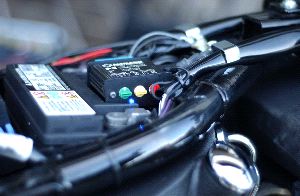
First, find a place to put the AMM-P3. The Desperados just put it under the seat.
Make all following wire-operations with respect to the mounting location of the P3.
Before you start, print out and take a look at:
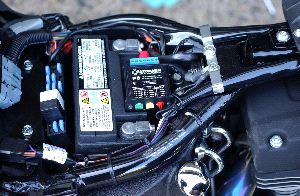
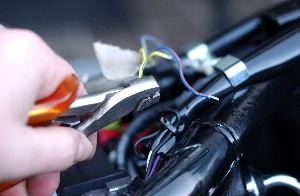
Locate the cable coming from the ignition-coil (with 4 wires inside). Cut cable and isolate the wires that go to the EFI module.
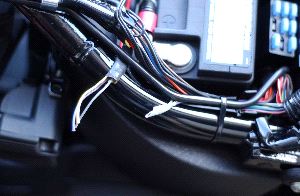
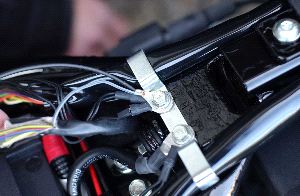
The grey-blue wire coming from the ignition coil was used as ION-sense by the EFI module. This cable carries high voltage during operation and must be connected to frame ground, together with the supplied AMM-P3-ground-wire. Use the supplied ring-termina. Make sure to do a perfect crimping job.
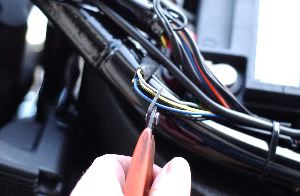
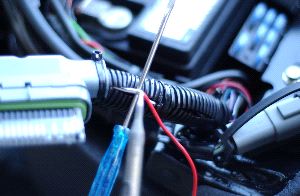
Locate crank-sensor cable (a red and black wire twisted together) and cut. The crank sensor must be connected to the AMM-P3. The cable must be extended to reach to the AMM-P3. When extending the cable (by soldering) use the same colors if you have, (the Desperadoes did not) and tightly twist all the way. Isolate the solder joints. Polarity of sensor-wires is important. If you extend with wires of different color, be sure to connect to the AMM-P3 in the correct polarity.
Almost done...
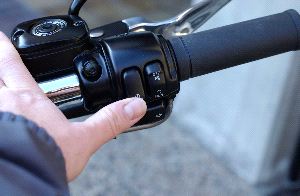
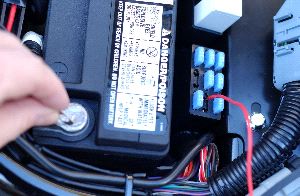
The only thing you still need is ... Power. Your power-line is a white-black wire (a white wire with a thin black stripe, NOT a black wire with a thin white stripe !!!) This wire carries kill-switched power, which means, that you can stop the engine by pressing the kill-switch on the handlebar. The white-black wire is not cut but branched off (soldering) by a red power wire in order to reach to the AMM-P3. Don't forget to isolate the solder joint afterwards.
The EFI electronic module still has one function: It operates the stock speedometer via serial link (or was it satellite-communication ??). If you install a "normal" speedometer, you may unmount the complete EFI module and associated cables.
A breeze: crimping on cable-end-sleeves (supplied with the P3) on all wires that go into the AMM-P3. Screw wires into P3-connector according to the plan. Make sure that no short circuits are possible between neighboring wires.
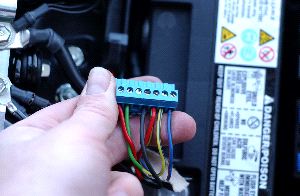
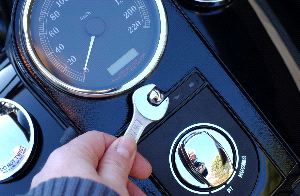
Plug connector into P3. You're done. Switch ignition on -> blue LED lights up.
That was it !!!
The Desperados have another beer, start the engine and adjust idle speed from medium to . . . SLOW . . . things just have to be done ...
Note: 1) Your turn-signal or security module works as before with only one difference. When security system armed, the starter-motor will not turn (as before), but when ignition switch is bypassed, the AMM-P3 will get power and the motorcycle can be started by rolling-it-on. In other words: The security system does not tell the AMM-P3 to work or not to work. The AMM-P3 will be functional as soon as it gets power. 2) The bank angle sensor (inside turn-signal (security) module) is not connected to the AMM-P3, which means ignition will not be interrupted when bank angle sensor detects lean of more than 45 degrees from vertical. However, excessive vehicle lean will still disable turn-signal lamps and starter motor.
Open fuel valve, start engine, go for a ride and tell us about it. If you have a question... ask.
 From EFI to Carburetor Upgrade Instructions .. Twincam engines